 Here is my finished crane model, this is my second model for my trailer. I took the parts that I had modelled earlier and when they were in place I grouped them together.
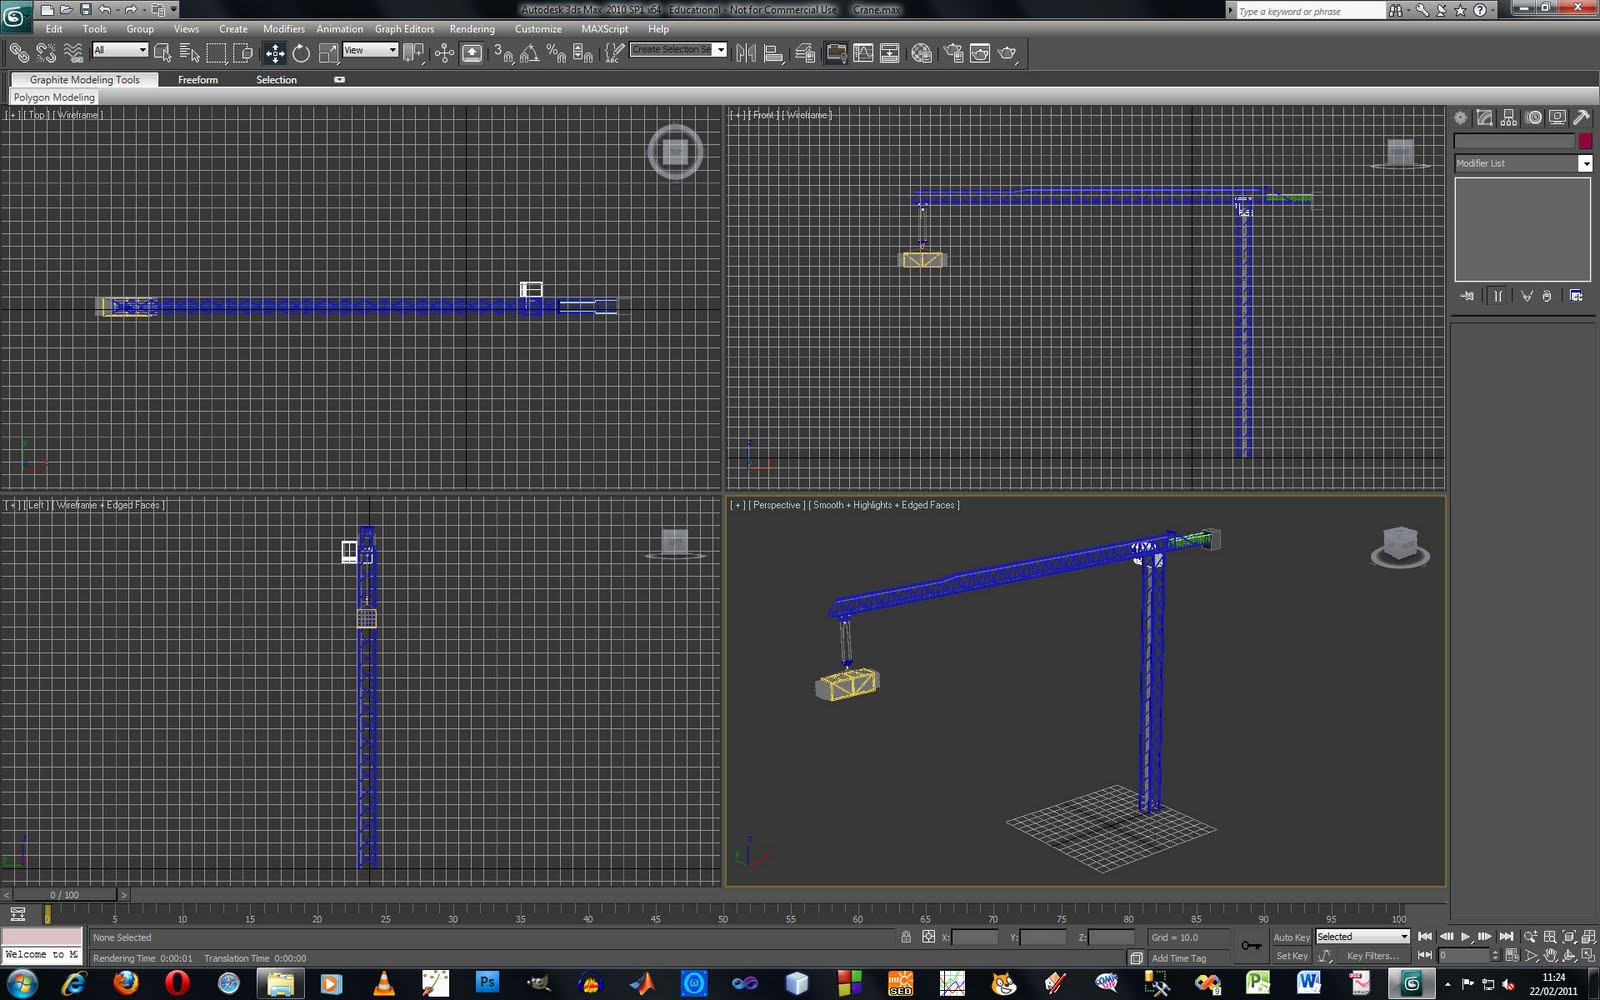
I used cylinders that I extruded for the ropes for the hook of the crane and modelled some railing and supports where the top and base of the crane met.
I modelled the cab from a cube using inset and extrude to create the window. I attached another cube for where the cab joins the crane and welded the vertices.
I modelled the counterweight for the crane from a box and then used chamfering to round off the edges.
 I created a ground plane so that the crane had something to stand on and so that there was something to receive the shadows. I used soft selection to model some bumps into the plane and added a noise map into the bump map to make a sand/dirt type of material.
 I added materials to the crane. I used texture maps for the pipes and the crane and used architectural materials for the glass on the cab and the concrete on the counterweight. I am quite happy with the materials that I have created as when looking at the crane from a distance they look ok but if I have enough time I may change them later as the crane I will need a close up in my animation.
 I set up a daylight system to create a sky and quickly add light to the scene. Below is a render of the crane at a different time setting. Setting up the lights in the scene improved the look of materials and made the model look more realistic.
No comments:
Post a Comment