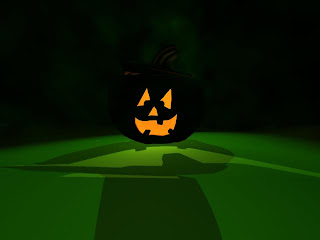
This tutorial involved lighting a pumpkin model that was provided for the tutorial. An omni light was added inside the model to create the effect of a candle inside of the pumpkin.
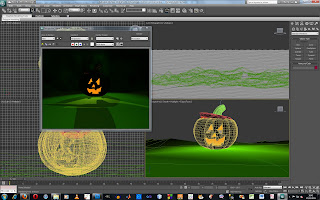
I changed the intensity and colour to make it look like a candle and turned on the shadows and adjusted the density so that they were not so dark. I added another light behind the pumpkin and added an atmosphere and a volume light to make a smoke effect behind the pumpkin, this light was changed to a green colour to make it look spooky.
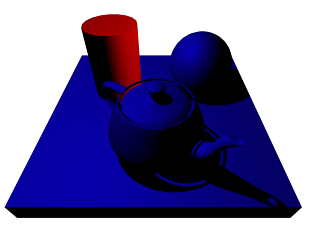
Here two lights were used one blue and one red, these were placed above the objects. All of the objects in the scene were changed to a white material. The cylinder was excluded from the effect of the blue light and was the only object included to be effected by the red light. The cylinder is red as it has only the red light shining on it if the cylinder wasn't excluded from the blue light it would be a purple colour. This shows how lights can be used to only effect certain objects with the scene.
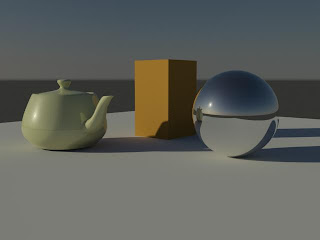
This tutorial involved setting up a daylight system a sky was added to the scene and architectural materials were used on the objects. The render had to be changed from the default scanline renderer to Mental ray before this could be done. This was a quick way to light a outdoor scene produced a good result.

 This tutorial involved lighting a pumpkin model that was provided for the tutorial. An omni light was added inside the model to create the effect of a candle inside of the pumpkin.
 I changed the intensity and colour to make it look like a candle and turned on the shadows and adjusted the density so that they were not so dark. I added another light behind the pumpkin and added an atmosphere and a volume light to make a smoke effect behind the pumpkin, this light was changed to a green colour to make it look spooky.
  Here two lights were used one blue and one red, these were placed above the objects. All of the objects in the scene were changed to a white material. The cylinder was excluded from the effect of the blue light and was the only object included to be effected by the red light. The cylinder is red as it has only the red light shining on it if the cylinder wasn't excluded from the blue light it would be a purple colour. This shows how lights can be used to only effect certain objects with the scene.
 This tutorial involved setting up a daylight system a sky was added to the scene and architectural materials were used on the objects. The render had to be changed from the default scanline renderer to Mental ray before this could be done. This was a quick way to light a outdoor scene produced a good result.
No comments:
Post a Comment